
| For Ray-Lin Index, click HERE ***** To return to the BCOIE Chapter website click HERE or on our logo above. |
|
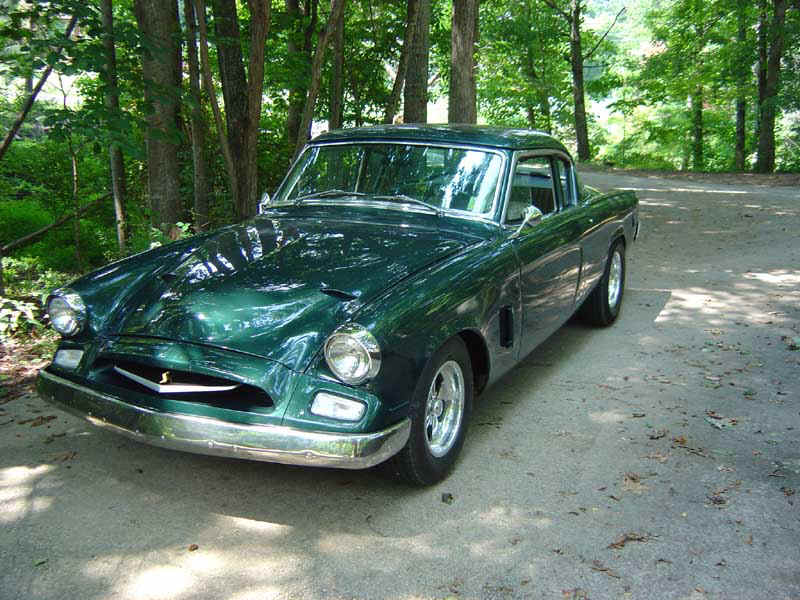
1953-1961 Studebaker Coupe and Hawk Headliner Installations Typical Coupe body: 1955 Commander (some missing photos replaced w/ better1961 Hawk photos)
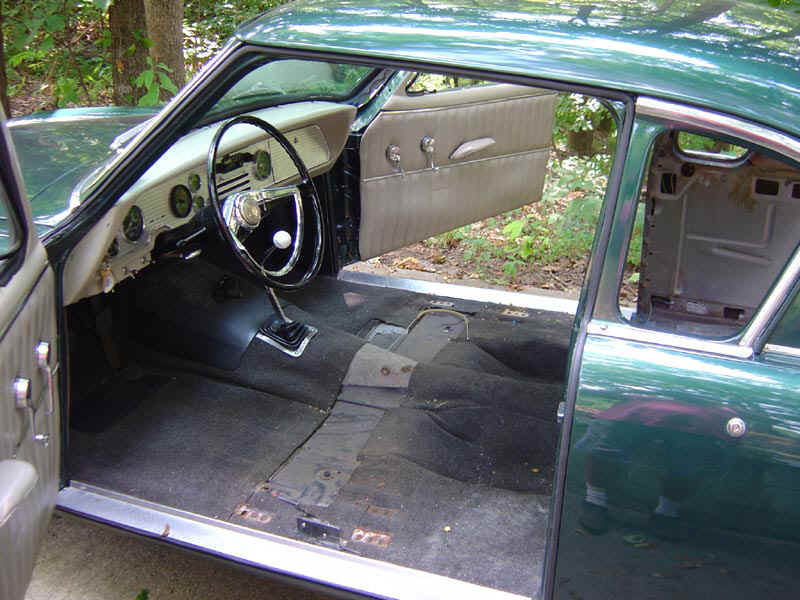
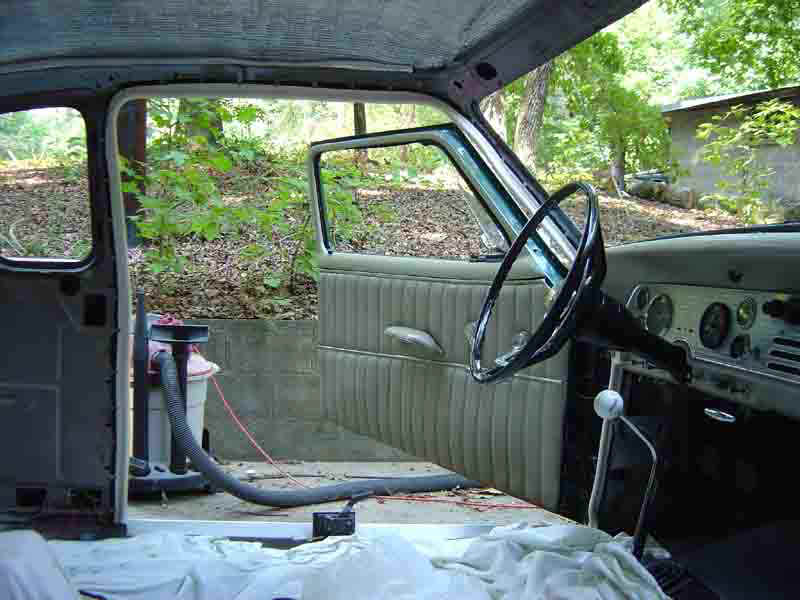
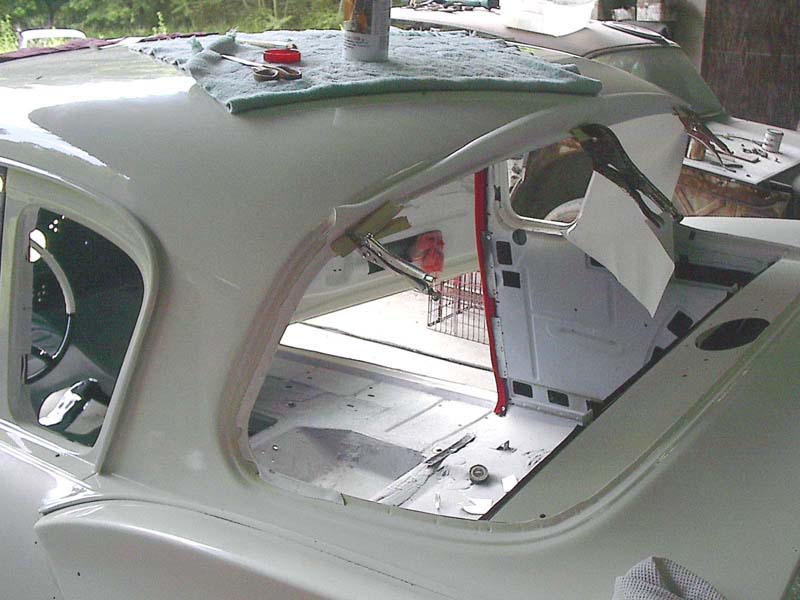
Remove the Seats, This allows lots of working room- you are going to need it!
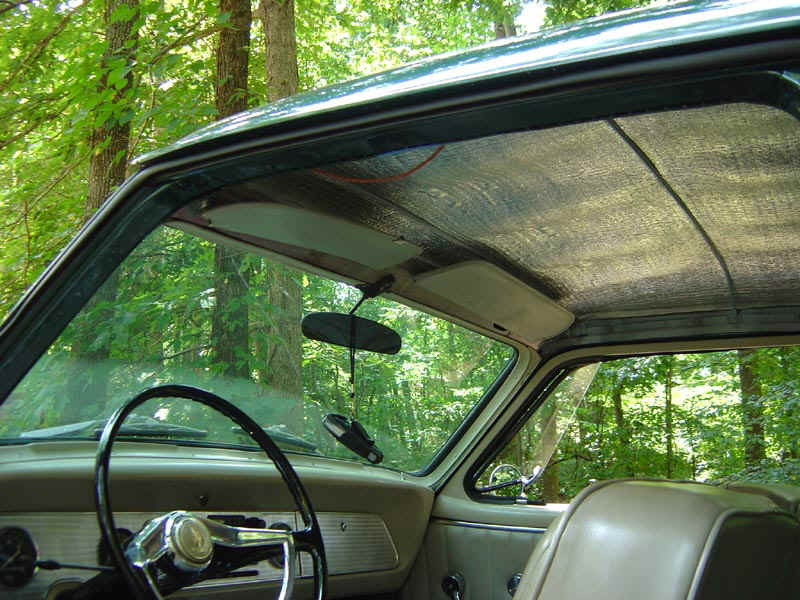
Remove the
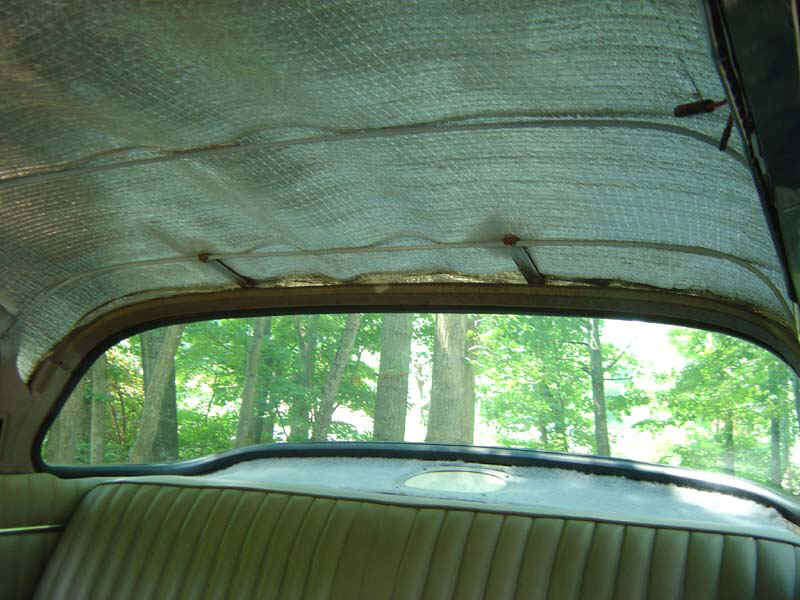
windshield, Rear glass, old headliner, sun visors, windlace retainers
etc.. You may wish to cover the dash to prevent damage.
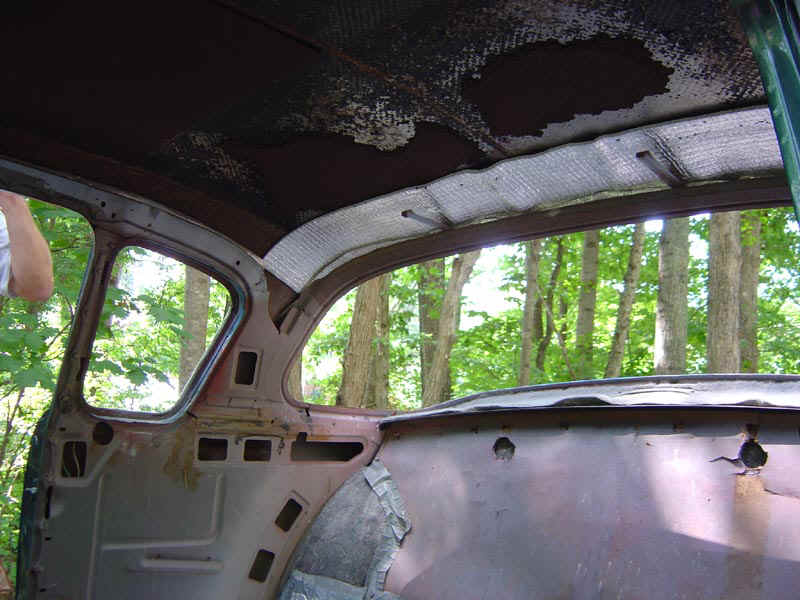
Remove loose insulation from roof panel. You
may install THIN (1/4") heat/sound deadening material.
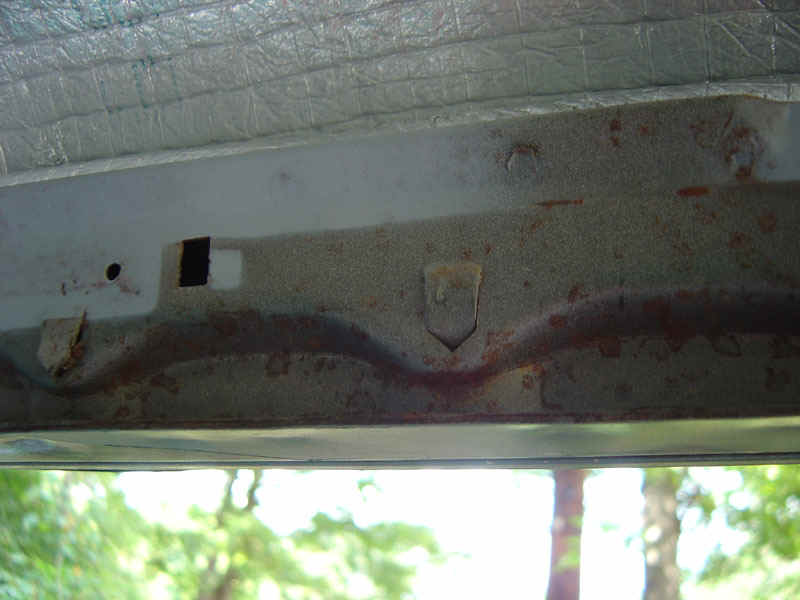
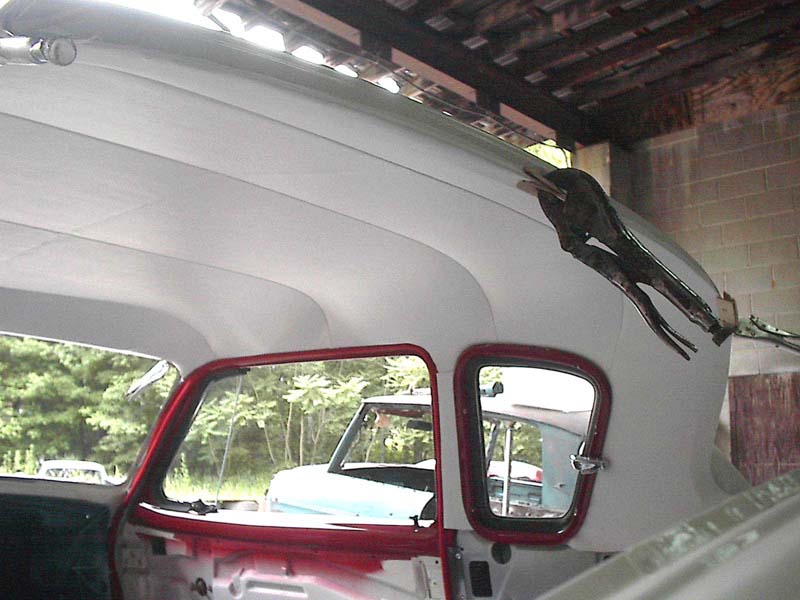
These windlace retainer clips are part of the body stamping. Carefully open them up- to hold the "tab" sewn on the windlace.
Install the
windlace-tab under the body-clips,and gently tap them tight to hold the
tab securely. Also install any sheet-metal retainers or clips.
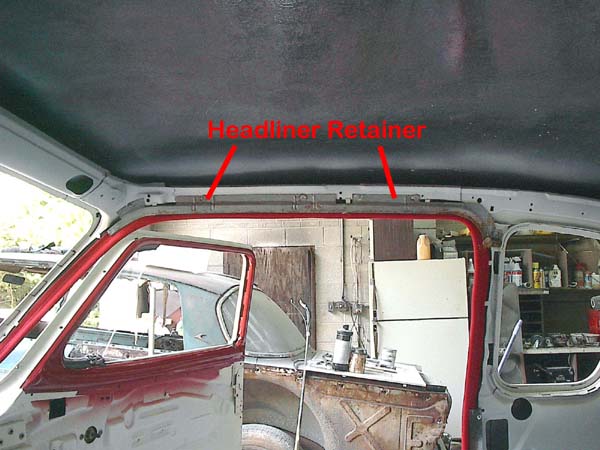
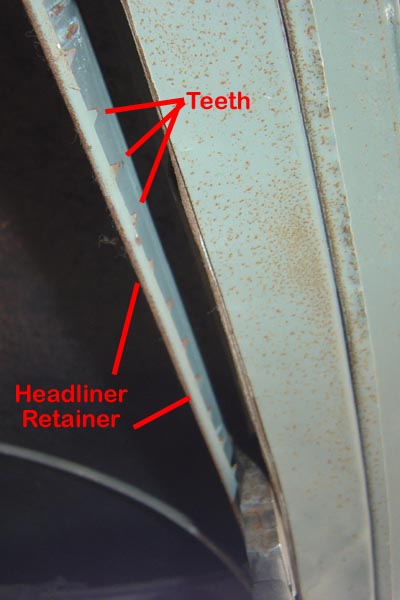
Install the Headliner retainers. Be sure to straighten any bent teeth. The teeth are bent upwards at a 60-degree angle.
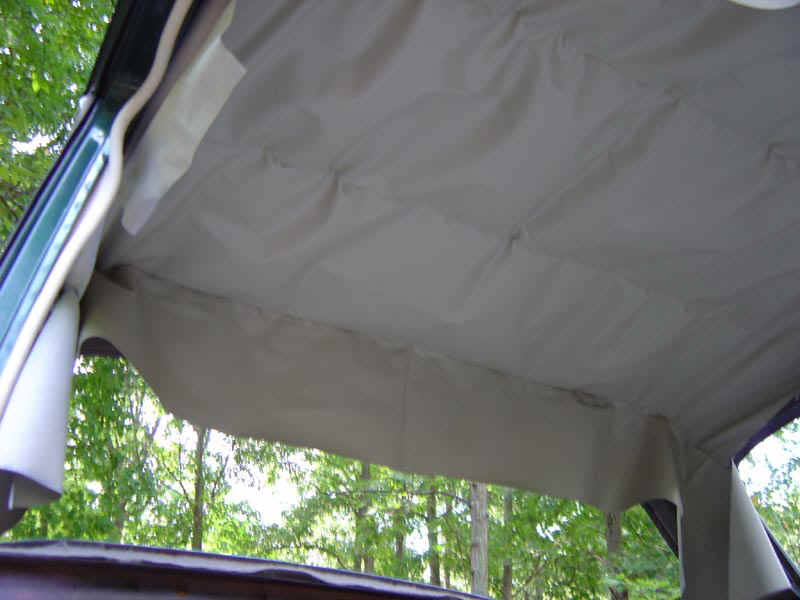
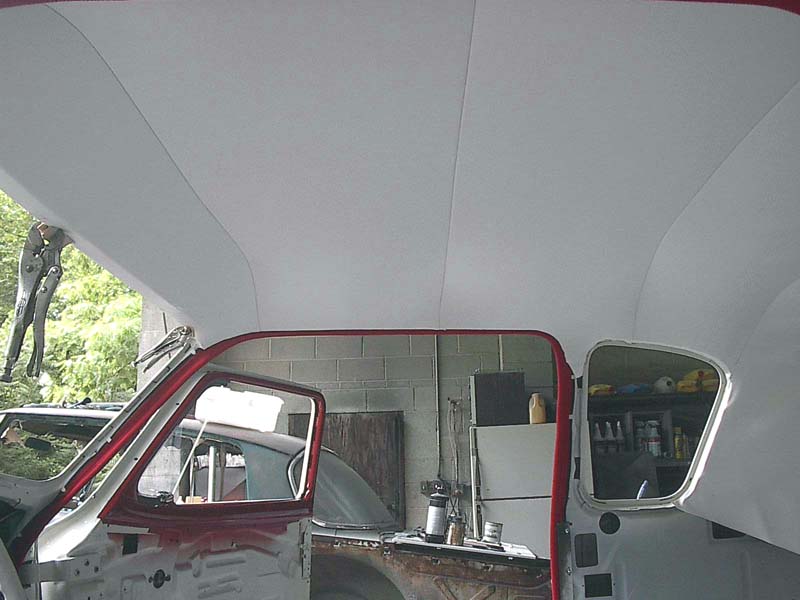
Slip the headliner
bows into the sleeves sewn at the seams of the headliner. Be sure you
have them in the correct order.
Hook the rear bow to
the rear retainer straps. **You will need to cut slots in the bow's
cloth covering where the clips attach.
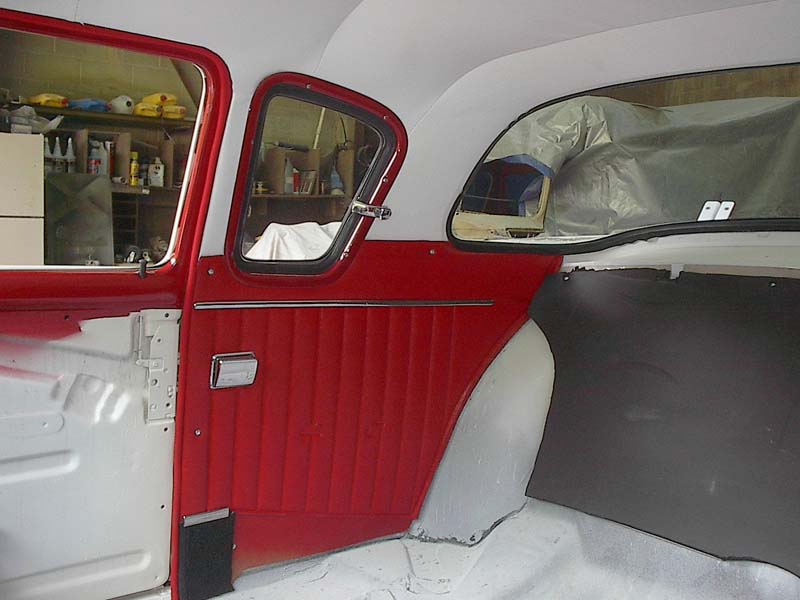
Put a coating of good
quality interior contact cement, or 3M Super weatherstrip adhesive
spray, on the windshield and rear glass flanges.
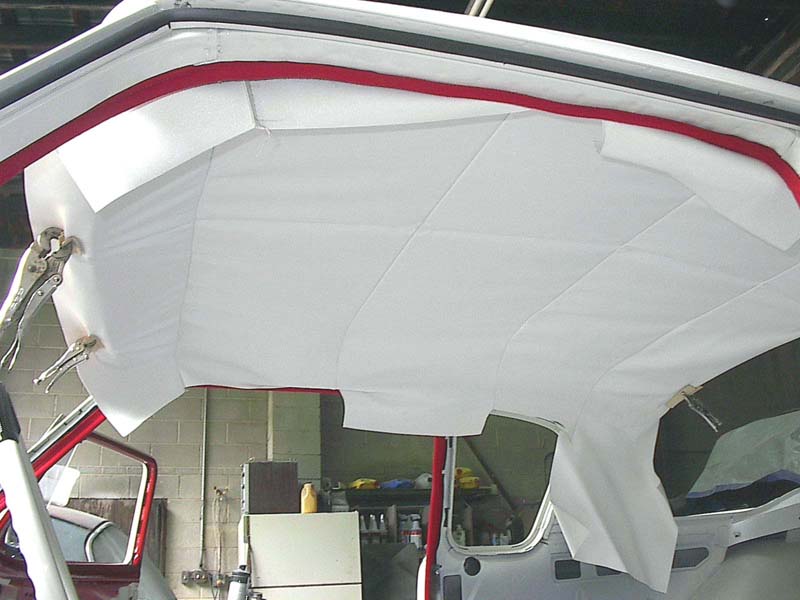
When you have the
center 10-12" like you want it, begin stretching the headliner towards
the sides- tuck the headliner under the headliner-retainers.
Work front to
back-and side to side, until you work most of the wrinkles out of the
headliner. Dont worry if there are a few small ones remaining,
Install windshield,
rear glass, side windows, and interior panels. The wrinkles appeared
when the window was installed.
|
|
www.StudebakerSoCal.com |