
| For Ray-Lin Index, click HERE ***** To return to the BCOIE Chapter website click HERE or on our logo above. |
|
1960 Champ Truck Rear Swaybar Installation
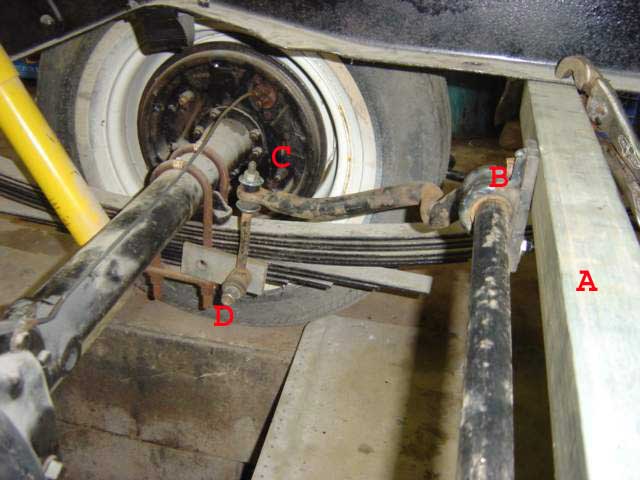
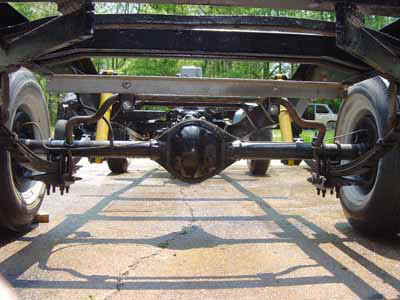
Here is the front swaybar from a 1996 Jeep Cherokee, modified to fit the rear of my 1960 Champ Pickup. The swaybar ends needed to be spread about 4". I used a Porta-Power, but it was pretty difficult (and possibly dangerous). If you have a spring-repair shop in your area, I'd suggest looking into having them use their press. You don't want to use heat on the bar, as you remove the spring tension that the bar needs. The upper rear crossbar (A) is 2 1/2" angle iron. I will weld the flat plate mounting pads (B) to the crossbar when it's fully assembled. I cannot mount the bar's brackets in their original position, without lowering the crossbar 5". I don't want to do that. I believe this will work fine. The sway bar ends (C) pivot about a 12 degrees in 6" of spring travel. I will fabricate nicer lower mounts (D), and bolt them underneath the lower spring plates when the truck is assembled. These are here only for measuring reference.
The bar needed to be mounted behind the rear axle. Mounted forward of the axle, the shocks get in the way, and there wasn't enough clearance at the driveshaft- allowing only 4" of spring travel. I would have liked to mount the bar lower, for a bit better geometry, But I think it will work fine where it is. I won't bolt it in until I have the truck fully assembled. This will allow me to check pivot points, and clearances better. I made sure nothing interferes with spring travel- even if the rear axle were to hit the jounce bumpers on the frame..
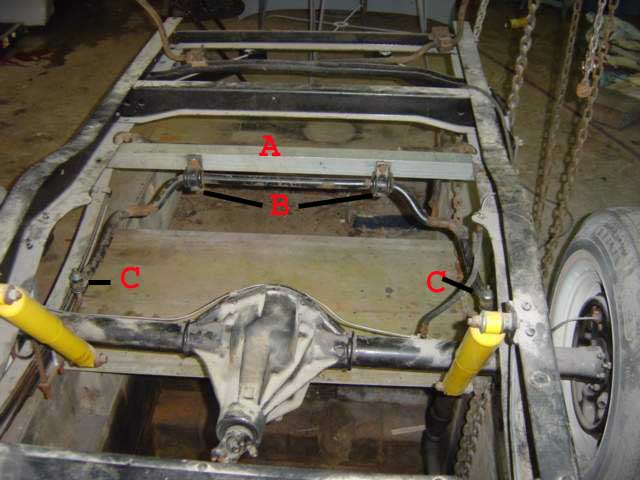
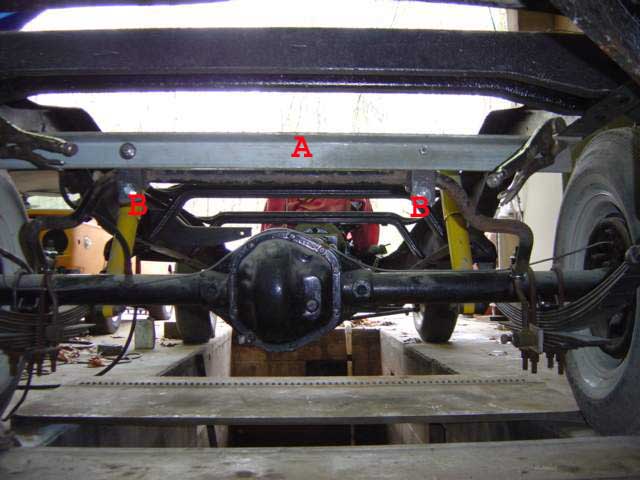
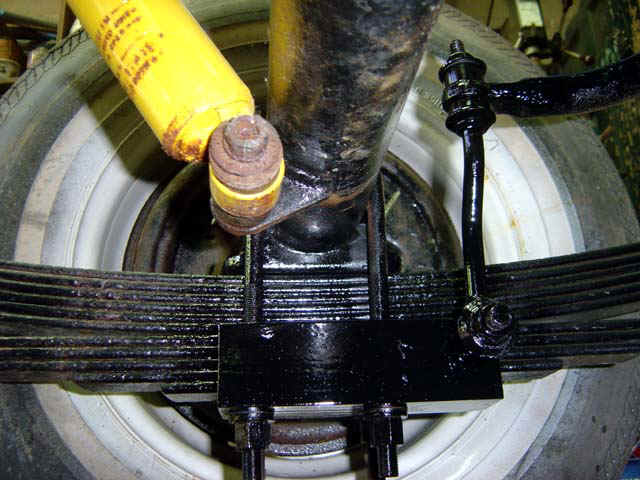
Completed Installation: I'll see how this works out with the unit just bolted in. I may or may not determine that the upper mounting bar needs more support, or to be welded in place. For now, it's simple to just unbolt and remove it. The mounts on the spring-pads are 1 1/2" angle iron- drilled to fit the original U-bolts. I had new U-bolts made, so there was plenty of thread left to install the mounting plate below the existing spring-pad.
|

|
www.StudebakerSoCal.com |