
| For Ray-Lin Index, click HERE ***** To return to the BCOIE Chapter website click HERE or on our logo above. |
|
1954 Studebaker Champion 4-Door Sedan The Job: minor bodywork (Click photos to enlarge) Materials used:
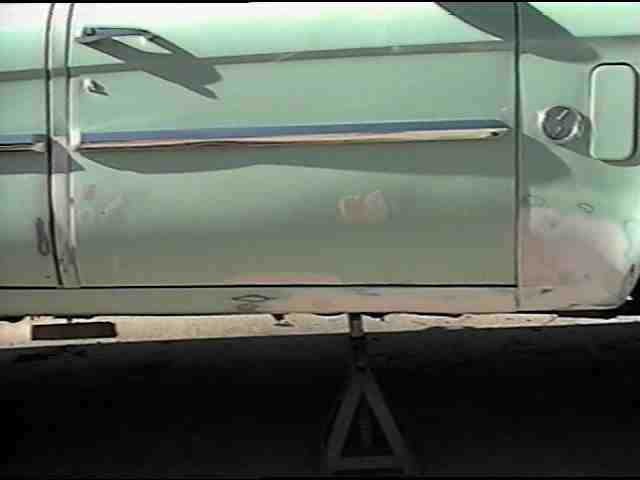
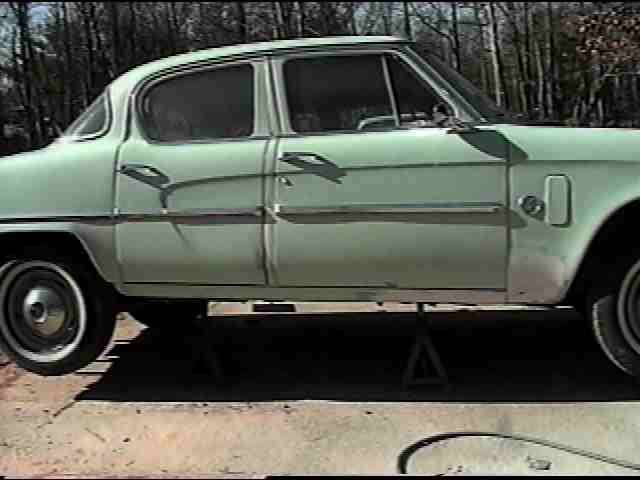
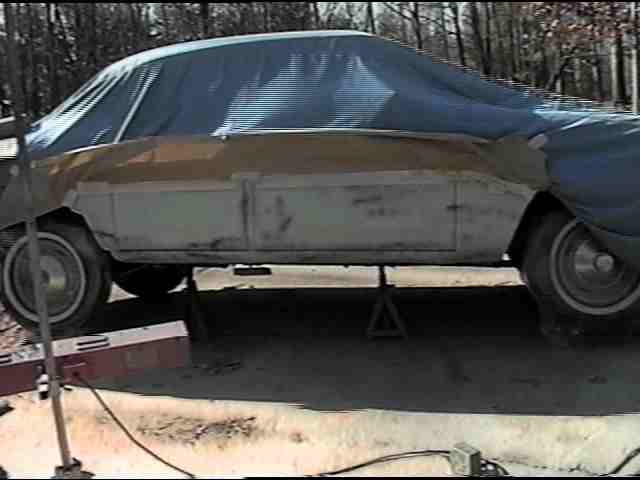
This '54 needed some attention on the right side. There was a little rust in the front fender, the rocker was crunched in 2 places and rusting from the scratches, and the 2nd paint job was peeling below the door mouldings. Also, the pillar between the doors had a substancial rusty dent from a poor previous repair. While the car is nice enough to warrant a complete makeover, that will have to wait. I was asked to "repair" what I thought it required, but also work within a small budget. Initially, I was only going to repair the rocker, pillar, and fender- but as I got into it, the peeling paint became a concern also (my blowgun was sending flakes everywhere). I also didn't want this lower section to appear as several different colors. My paint supply did a masterful job of matching the color. I took them the gas tank door- after I had polished it with a light compound to return it's gloss. The car is quite oxidized, but I feel confident most of the gloss will return. The following is just a brief essay on the repair procedures I used.
The first thing to do was hammer out the dents in the rocker. Luckily, the rockers on this car can be accessed from behind- so it wasn't too difficult to get the dents out. The dent between the doors was removed with a stud-welder. I also filled a couple door dings while I was there. The areas that needed filler were ground with an air-sander with a 40-grit sanding disc. The painted areas around the repairs were then sanded with 80-grit to 2-3" beyond where filler was required. The front fender had a small hole (1/2" diam) that was POR-15'd (as well as the inner seam) from the front and the back sides. Then, a fiberglassed reinforced filler called "Tiger-Hair" was used to bridge the hole. Standard bodyfiller was then used over top of this. I "cut down" the filler using a 5" rubber sanding block- and 40-grit paper. When I think I'm in the neighborhood, I switch to 80-grit and shape it as needed. I will then fill any pinholes and any areas that need more filler and repeat the sanding process. When happy with the contours, I use a soft sponge block with 180-grit paper on it.
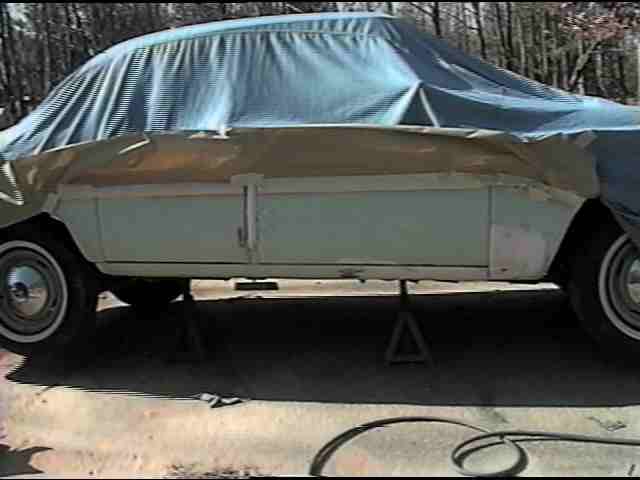
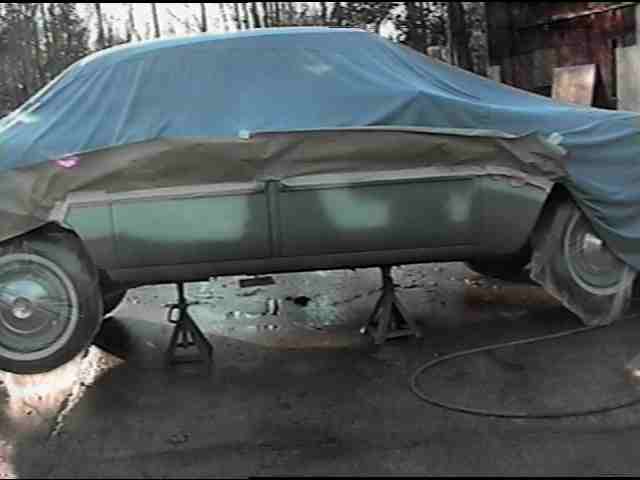
With the bodywork complete, I seal the filler with 2 wet coats of epoxy primer- I can get it in several colors, in this case, I chose PPG's DP-40 green. This is then coated with 3 full wet coats of an epoxy high-build primer surfacer. It is important to allow the recommended drytime between these coats. You do not want to trap solvents between the coats. I like to use quartz heat-lamps to speed the drying process. The 3rd photo of this series shows what bodymen refer to as "guidecoat". It is used to help a bodyman "see" high spots, lowspots, pinholes, and body-filler edges while blocksanding. I use a black or dark grey sandable primer in a spraycan. In this instance, I sprayed it on about 3 times as heavy as usual, so it shows up better in the photo. Normally, just a light "salt n' pepper" dusting is required. As you sand, this guidecoat will indicate how close your bodywork is. The guidecoat will sand immediately off the highspots. If you have a lowspot or pinhole, the guidecoat primer will not be removed and thus show you it is low in that area. "Normally", I will have to do at least 2 sets of high-build priming/blocksanding before I'm happy with the results. The first blocksanding will be done with either: 80-grit sandpaper -if there was "major" bodywork or 180-grit if it was only a minor repair. After the first blocksanding, you may need to use a "spot putty" to fill in any minor imperfections that show up. I do NOT recommend using the type that comes in a tube (laquer based). I have had adhesion and staining problems with them, and they are not compatible with the new urethane primers and finish coats. I use only epoxy spot-fillers (I like a putty called "MetalGlaze"). The second blocksanding will be with either 180-grit or 320-grit paper. If you intend this to be the "last" blocking, you must use the 320-grit. Dark colored cars usually require an "extra" blocking. In this case, I only did 1 blocksanding- with 320 grit, so it was important that I do a good job on the bodywork. I was satisfied with the work, and didn't run into anything unexpected (low spot, pinhole, sand scratches)- so a second (or third) batch of high-build primer wasn't required.
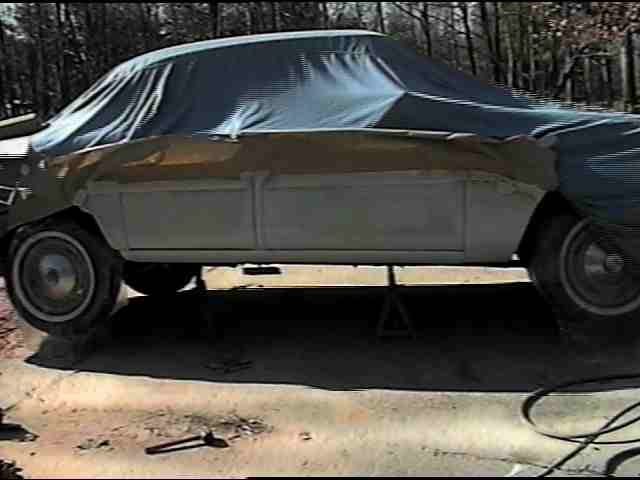
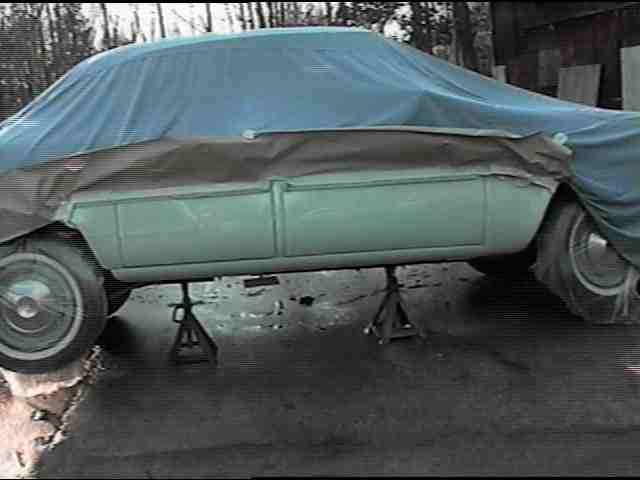
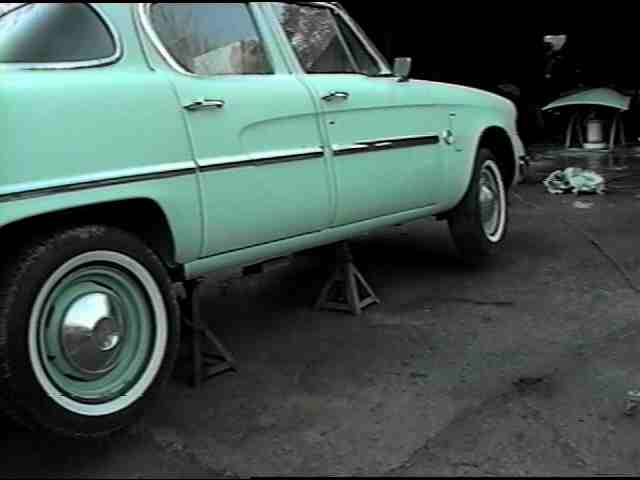
(Notice wet pavement in these steps- to keep down dust/trash) After the final blocking, you seal all the areas that you have broken through to bare metal, bodyfiller, or old paint. Most paint manufacturers have a pre-paint sealer reccomended for each line of finishes. I use PPG DP-40 epoxy primer- mixed as a sealer (as per manufacturers recomendation). This primer works well to seal down the edges and prevent the finish coat solvents from attacking and lifting any of the old paint finishes used on the car. Since I am using a relatively tame solvented Acrylic Enamel, I shouldn't have a problem with the old paint. Once sealed, it is time for the finish coats. I begin by dusting all the edges and hard to reach places. Then, a light "tack-cote" over the ares where the sealer is- just to start the colorization. After a 10-15 minute drytime, the wet finish coats can begin to be applied. It usually takes 3 nice wet coats to achieve a good flow, an even color, and a nice gloss. I like to remove the tape and paper (VERY carefully) within 2 hours of finishing the job.
|


|
www.StudebakerSoCal.com |